What makes a shopping centre wayfinding kiosk worth using
A specifier's guide to wayfinding kiosks for shopping centres: duty cycle, glare, vandal-resistant touch and…


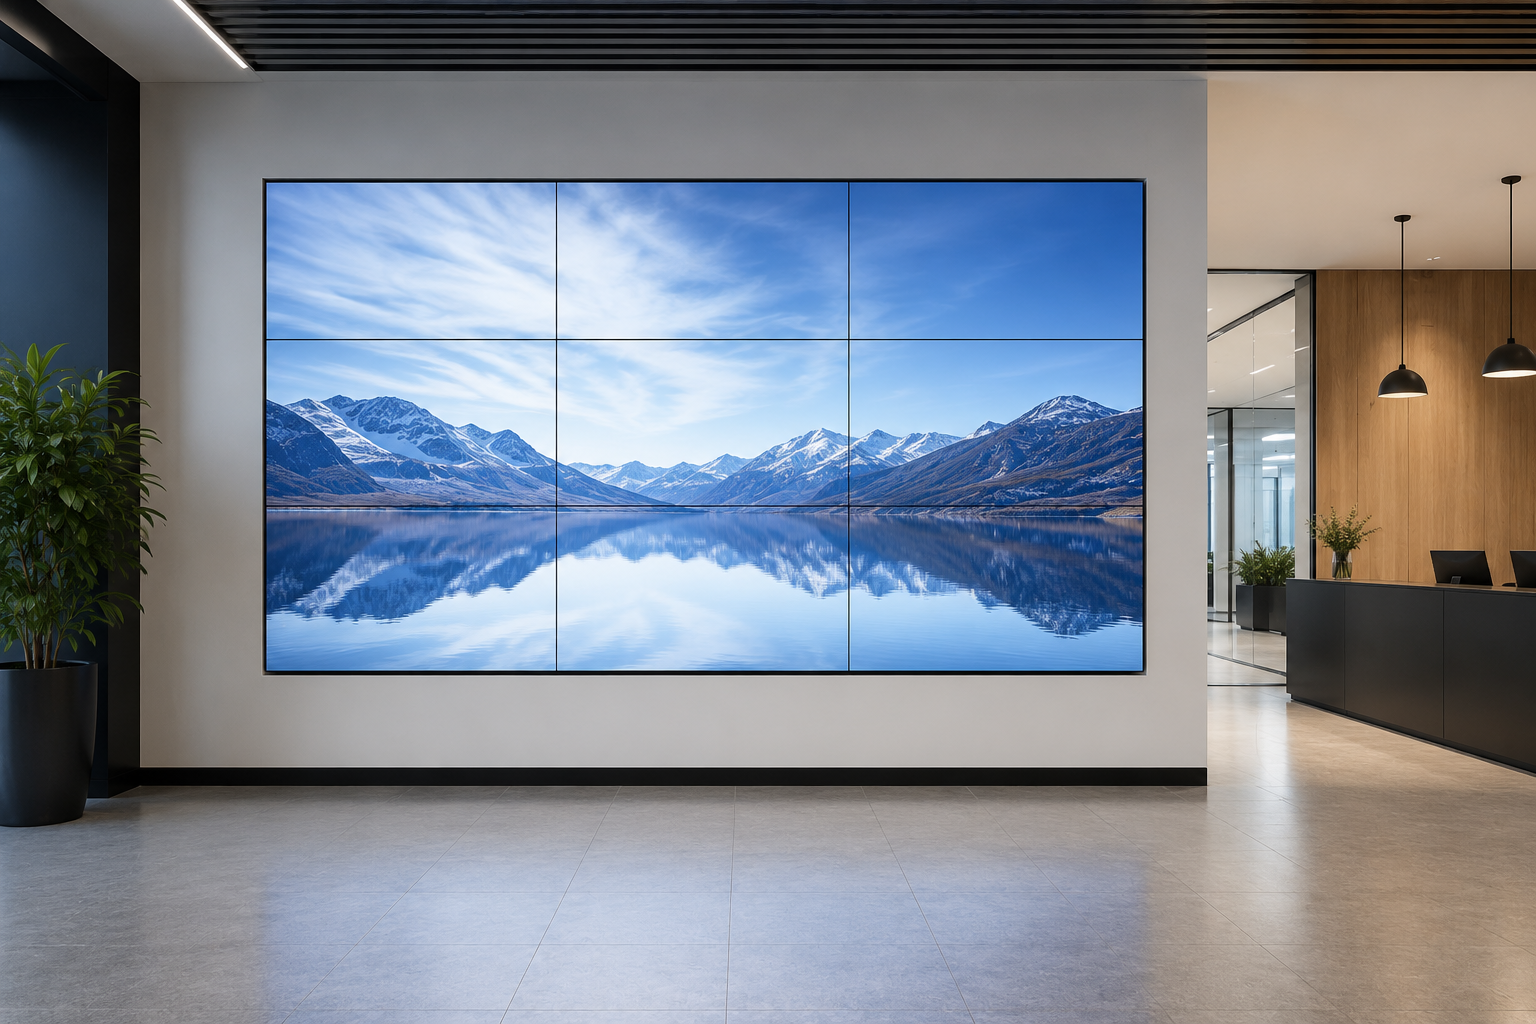
The brief often arrives as two words: big screen. Someone wants a wall of video in the foyer, the control room or above the service counter, and the budget line just says video wall. Buying the panels is the easy part. The work is in deciding how many, at what size, how close people will stand, and how much the joins between panels will bother the eye.
Manuco supplies and specifies commercial display panels from Thomastown in Melbourne's north, and the first question on any video wall is always the same: where is it going, and how far back will people stand? The answer sets almost everything else.
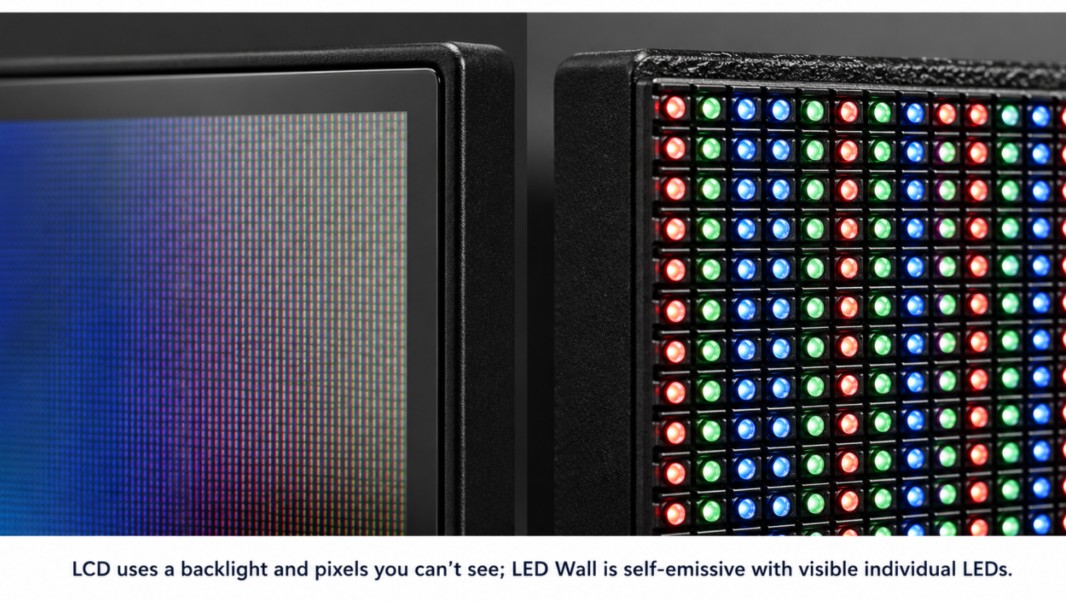
A video wall comes in two main types. An LCD video wall is a grid of separate LCD panels, each with a thin frame called a bezel, tiled to work as one screen. An LED wall, or direct-view LED, is built from LED modules with no bezels, so the picture has no joins at all. Both are multi-display signage systems, and they suit different jobs.
LCD video walls suit indoor spaces where people stand within a few metres and the content includes text, logos or fine detail. Foyers, control rooms, meeting rooms, retail floors and service counters are the usual homes. They cost less than LED for the same size. A single failed panel can be swapped without rebuilding the wall.
Direct-view LED walls suit very large formats, a fully seamless picture, long viewing distances and high brightness. Think arena screens, large atriums and stage backdrops. They carry no bezels, so the image is unbroken, and they are priced by pixel pitch, which is how close the LEDs sit. A finer pitch costs more and suits closer viewing. Direct-view LED is a different class of product, and is often supplied and installed by LED specialists.
For most indoor commercial jobs, an LCD video wall is the right tool, and the rest of this article is about sizing and specifying one. For the full technology comparison, see our guide on LED versus LCD displays.
Sizing a multi-display signage system means matching the array to how it will be seen. Two things have to be true at the closest normal viewing point. The picture has to be sharp, and the seams have to fade into the content.
Start with viewing distance. Work back from the furthest viewer so the screen stays readable, and in from the closest viewer so the seams disappear. A wall read from across a warehouse can be coarser and cheaper. A wall people stand a metre from in a reception needs fine detail and the narrowest joins. The further back the viewer, the larger everything on screen has to be, which limits how much content fits at once.
Total resolution comes from tiling. Each Full HD panel is 1920 by 1080. Tile them and the resolution adds up. A 2 by 2 grid is 3840 by 2160, which is 4K. A 3 by 3 grid is 5760 by 3240. More tiles mean more pixels and a sharper picture up close.
Content has to match the wall. Feed a 1080p source to a 4K wall and the image is stretched to fit, so it softens. Author or scale the content to the wall's native resolution and it stays crisp. This is the step most often missed, and it is why some walls look soft even with good panels.
Shape follows the content. A 2 by 2 or 3 by 3 grid is a 16:9 rectangle, good for full-screen video and dashboards. A 1 by 4 landscape strip suits a data ticker or a menu above a counter. A portrait 1 by 3 column suits wayfinding or a lift lobby. Pick the array shape that fits the content you will run most.
The bezel is the frame around each panel. On a video wall the number that matters is the combined bezel-to-bezel width, which is the total gap where two panels meet.
Commercial video wall panels quote this combined figure. It runs from about 3.5mm at the wider, cheaper end down to 0.88mm at the narrowest, and that 0.88mm is roughly 0.44mm per panel edge. A width of 1.8mm is a common middle option.
At 0.88mm the grid lines almost vanish and the wall reads as a single screen. At 3.5mm you see a faint grid up close, though it fades with distance. The worst case is text or a face landing on a seam, where the join cuts through the detail. So match the bezel to the viewing distance. For a foyer where people stand close and read text, spend on the narrowest bezel. For a wall viewed from tens of metres away, a wider bezel is fine and saves money.
Good panels and video processors offer bezel compensation. This shifts the image behind the frames so a line crossing the wall stays continuous and does not jump at every join. Panels in a wall are also factory-calibrated so brightness and colour match across tiles. Without that match, one panel reads warmer or brighter than its neighbours and breaks the effect.
Brightness itself depends on the room. Video wall panels commonly run 500 to 700 nits, which suits most indoor sites, and more is needed where there is strong ambient light such as a glazed atrium. For how bright a screen needs to be by environment, see our guide on display brightness. Video walls are an indoor product in most cases; putting one outdoors is a different specification, covered in our guide on outdoor digital signage for Australian conditions.
A video wall is a permanent fixture that runs long hours, so how you mount it, cool it and reach it for service matters as much as the picture.
Plan front access before you buy. Pop-out or pull-out mounts let a single panel be drawn out from the front for service. Where there is no space behind the wall, front access is the difference between a ten-minute swap and dismantling the whole array.
Check the structural load. A 3 by 3 grid of 55 inch panels plus mounts is a real weight on the wall. A plasterboard stud wall may need bracing, or the job may need a floor-standing frame instead.
Run the power and data before the panels go up. Each panel needs power and a video feed, and a nine-panel wall carries a lot of cabling behind it. Plan where the processor and any media players sit, and how the cables reach them, so the back of the wall stays easy to service.
Leave room for heat. Panels running long hours give off heat, and heat is the main thing that shortens their life. Leave clearance for airflow, and check whether the install needs active cooling. Specify panels rated for 24/7 use, because a consumer TV tiled into a wall will overheat and fail early.
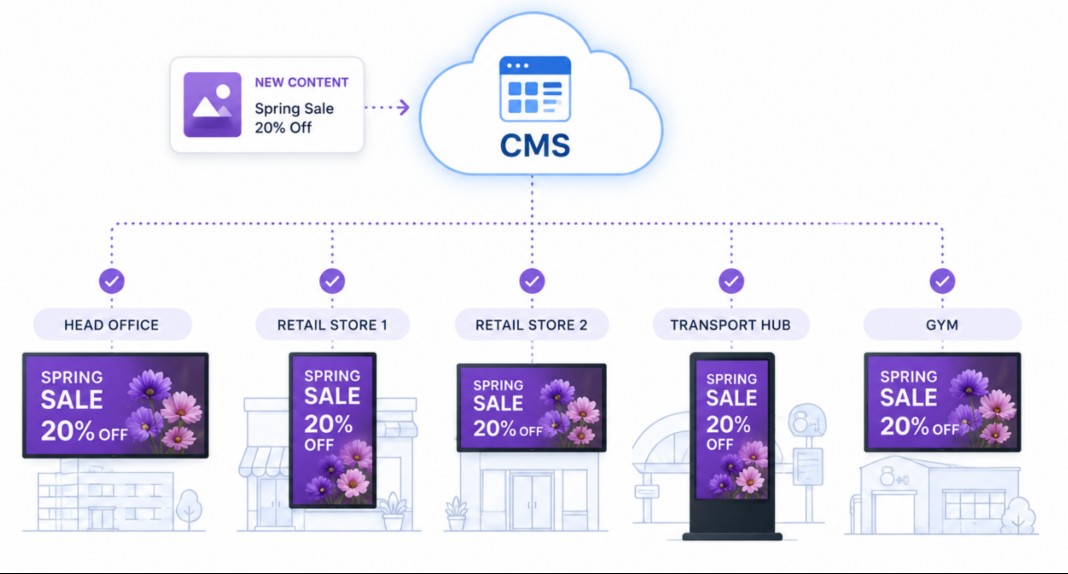
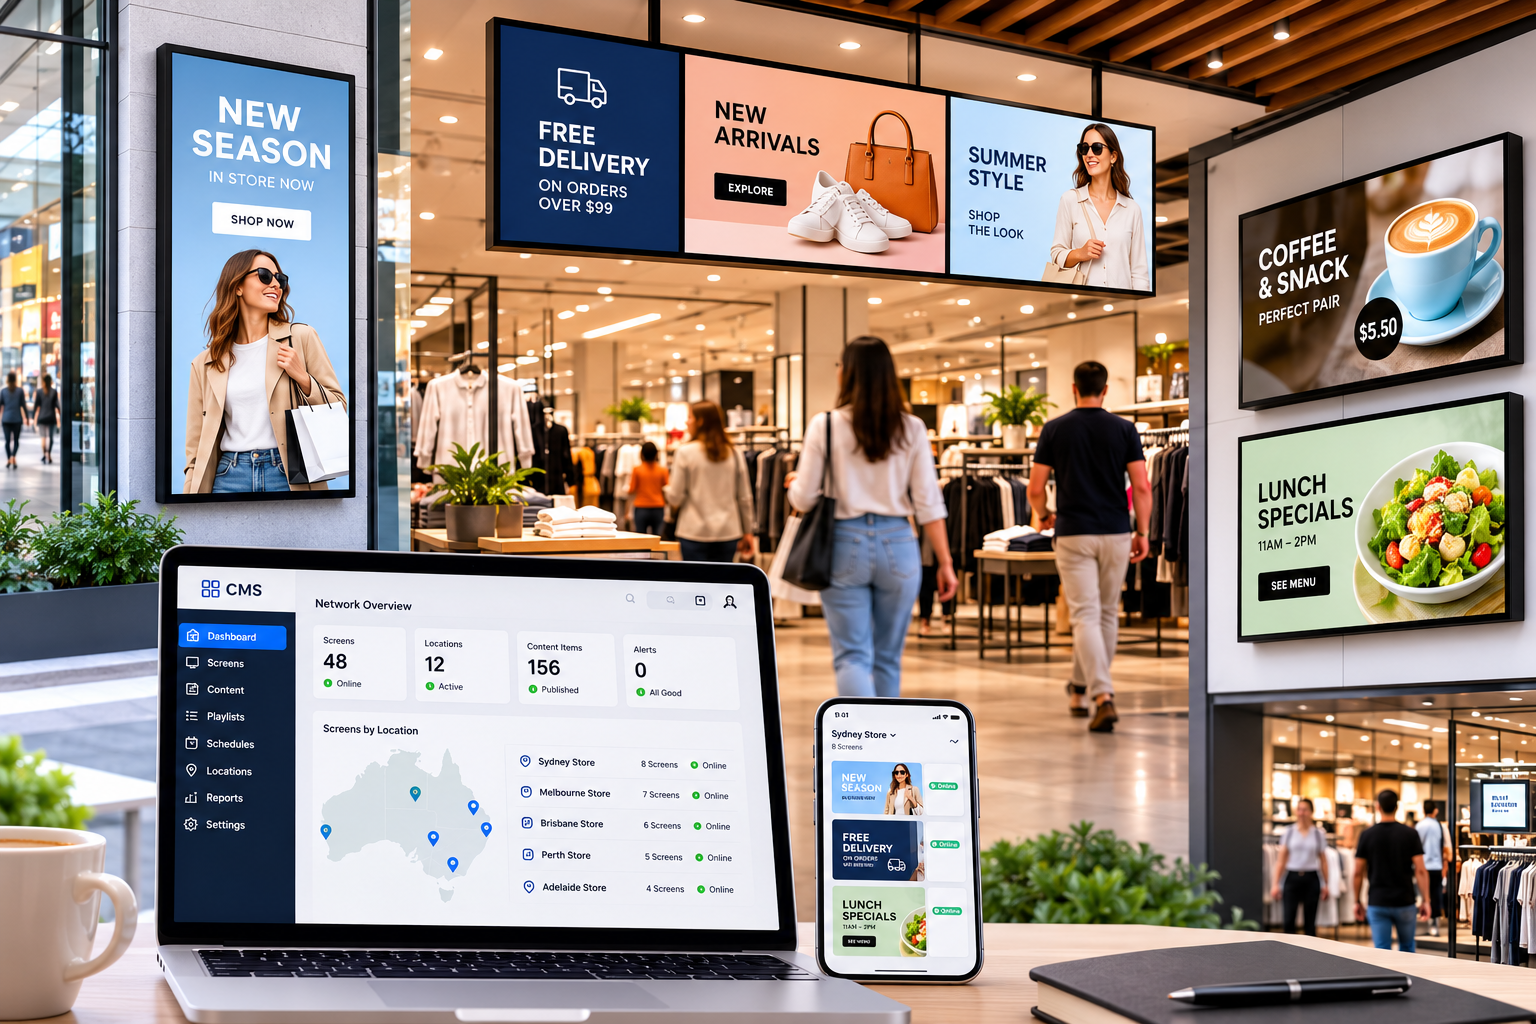
Content reaches the wall through a video processor or controller that splits the picture across the tiles. If the wall is one of several screens spread across sites, running and updating content on all of them becomes its own task, which we cover in a separate guide on running content across a display network.
Quick reference: matching the array to the job
| Application | Suggested array | Key spec to check |
|---|---|---|
| Corporate foyer or reception | 2x2 or 3x3, 55" Full HD | Narrow bezel (0.88-1.8mm) for close viewing |
| Control room or monitoring | 3x3 or larger, 46-55" | 24/7 rating; front-access mounts; bezel compensation |
| Retail or menu wall | 1x3 or 2x2 | Brightness for ambient light; portrait option |
| Large atrium or arena | Direct-view LED | Pixel pitch for viewing distance; seamless picture |
| Counter or ticker strip | 1x4 landscape | Aspect ratio match; content authored to the strip |
Take the decisions in order and the spec falls out of the room itself. First, fix the viewing distance, both closest and furthest. Second, set the array size and resolution so the picture is sharp at the closest point. Third, choose the bezel width your budget and viewing distance justify. Last, plan the mount, the cooling and the service access before anything is ordered. Worked through in that order, you rarely over-buy or leave a gap in the spec.
Tell us the room, the wall it is going on, and how far back people will stand. From that we can size the array, choose the panels and bezel, and specify the mounts and cooling to match. Whether the wall is going into a Melbourne office foyer or a regional control room, the site details do most of the work, and the panel choice follows from them.
Web Design by CJ Digital